I had first written about Skyrim when it was released in 2011. I tried out the game after more than a decade, both the vanilla and then with mods. Here is my experience playing this game after more than 10 years after its release.
What is Skyrim?
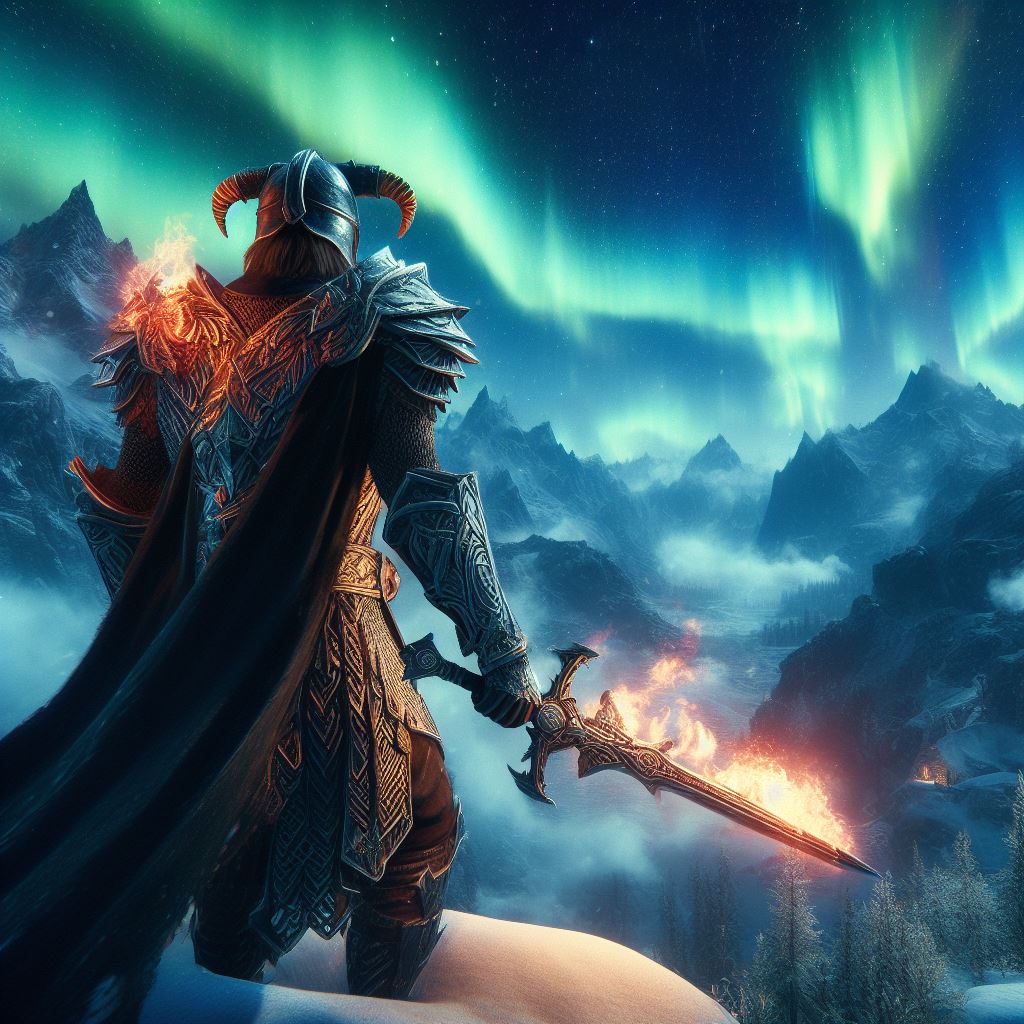
Skyrim, the fifth installment of the Elder Scrolls series, was released on November 11, 2011. The game was a huge success, selling over 30 million copies worldwide and receiving critical acclaim for its open-world design, rich lore, and immersive gameplay. Skyrim also became a phenomenon in the modding community, with thousands of fans creating and sharing their own content, ranging from simple tweaks and fixes to massive overhauls and expansions.
Modding? What is that?
Modding is the practice of modifying a game’s files, usually with the help of tools and software, to alter or enhance its features, graphics, gameplay, or content. Modding can be done for various reasons, such as improving performance, fixing bugs, adding new functionality, creating new stories, or simply expressing one’s creativity and vision. Modding can also extend the lifespan and replay value of a game, as well as foster a vibrant and supportive community of modders and players.
Skyrim and the creation kit
Skyrim was designed with modding in mind, as Bethesda Softworks, the developer and publisher of the game, provided official tools and resources for modders to use. The most prominent of these tools is the Creation Kit, a software that allows modders to edit and create new game data, such as quests, characters, items, locations, scripts, and more. The Creation Kit is based on the same engine that Bethesda used to develop Skyrim, and is compatible with the Steam Workshop, a platform that allows modders to upload and download mods easily.
In addition to the Creation Kit, Bethesda also released other tools and resources for modding Skyrim, such as the Skyrim Script Extender (SKSE), a program that expands the scripting capabilities of the game; the Bethesda Archive Extractor (BAE), a tool that allows modders to extract and view the game’s assets, such as textures, meshes, sounds, and animations; the Bethesda Performance Textures, a set of optimized textures that improve the game’s performance; and the Skyrim High Resolution Texture Pack, a free DLC that enhances the game’s graphics.
Skyrim mods over the years
Skyrim modding has evolved and grown over the past 10 years, with modders creating and releasing thousands of mods of various types, sizes, and quality. Some of the most popular and influential mods include:
- SkyUI, a mod that overhauls the game’s user interface, making it more user-friendly, customizable, and compatible with other mods.
- Unofficial Skyrim Patch, a mod that fixes hundreds of bugs and glitches that Bethesda never addressed, improving the game’s stability and compatibility.
- Alternate Start – Live Another Life, a mod that allows the player to choose from different scenarios and backgrounds for their character, instead of following the default intro sequence.
- Ordinator – Perks of Skyrim, a mod that revamps the game’s perk system, adding hundreds of new and unique perks for each skill tree, allowing for more diverse and interesting builds.
- Apocalypse – Magic of Skyrim, a mod that adds over 150 new spells to the game, covering all schools of magic and offering new possibilities for combat and exploration.
- Immersive Armors, a mod that adds over 50 new sets of armor to the game, each with their own style, stats, and crafting recipes.
- Immersive Weapons, a mod that adds over 200 new weapons to the game, each with their own design, stats, and distribution.
- Interesting NPCs, a mod that adds over 250 new characters to the game, each with their own voice, personality, backstory, and quests.
- Legacy of the Dragonborn, a mod that adds a massive museum to the game, where the player can collect and display thousands of items, artifacts, and relics from the game and other mods, as well as embark on new adventures and quests.
- Beyond Skyrim, a mod project that aims to recreate the entire continent of Tamriel in Skyrim, with each province having its own landscape, culture, history, and quests.
These are just some examples of the many mods that have been created for Skyrim over the past 10 years, and there are still more being developed and released every day. Skyrim modding has become a hobby, a passion, and a culture for many fans of the game, who have contributed to making Skyrim one of the most modded and replayed games of all time. Skyrim modding has also inspired and influenced other modding communities, such as those of Fallout, The Witcher, and Dragon Age.
Disadvantages and Cons of modding
Skyrim modding is not without its challenges and limitations, however. Modding Skyrim requires a lot of time, effort, skill, and patience, as well as a decent computer and internet connection. Modding Skyrim also involves dealing with technical issues, such as compatibility, performance, crashes, and bugs, which can sometimes be frustrating and discouraging. Modding Skyrim also requires a lot of respect and cooperation among modders and players, as modding is a collaborative and creative endeavor that relies on sharing, crediting, and supporting each other.
Give it a whirl!
Skyrim modding is a remarkable phenomenon that has enriched and transformed the game and its community in many ways. Skyrim modding has shown the power and potential of modding as a form of artistic expression, entertainment, and education. Skyrim modding has also demonstrated the passion and dedication of modders and players, who have kept the game alive and relevant for 10 years and counting. Skyrim modding is a testament to the enduring appeal and quality of Skyrim, and the love and appreciation that fans have for it.
Don’t take my word for it, just head on to Nexus and get Vortex and try out Skyrim after a decade!